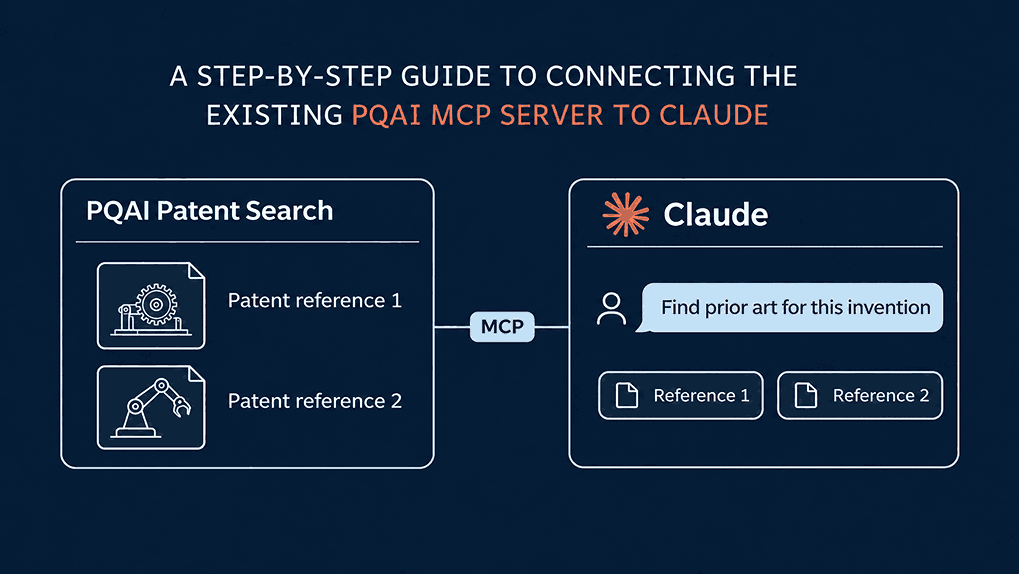
Can Claude Search for Prior Art? Here’s How to Set It Up With PQAI
If you already use PQAI for prior art searches, you can run them inside Claude too. This guide shows you how to connect the two,

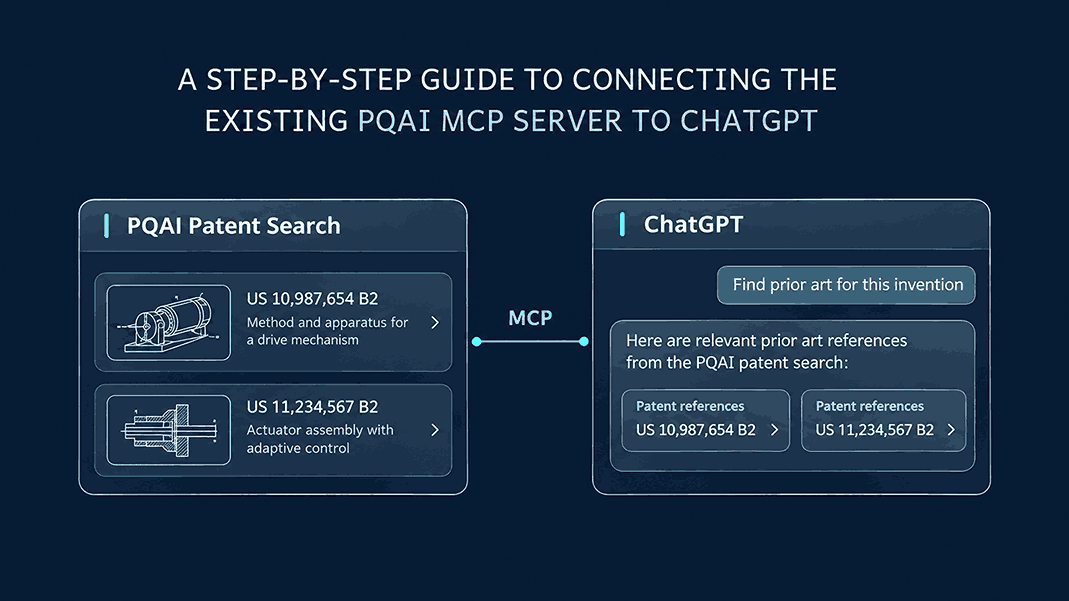
This guide shows you how to connect PQAI to ChatGPT so you can run prior art searches without leaving your chat. Once it’s connected, you can describe an invention in plain language, and ChatGPT will pull real patent records through PQAI instead of answering from memory. You can then ask follow-up questions about any result in the same conversation.
You don’t need to write any code. PQAI already hosts the MCP server. So, you only add its address to ChatGPT and approve the connection. The whole setup takes about five minutes.
Before you start, make sure you have:
Connecting an MCP server might sound like a job for a developer, but you won’t need to write any code here. PQAI already runs the server, so all you do is add it to ChatGPT. Once it’s connected, you can run patent searches in ChatGPT and review the results for an initial novelty check.
Before you begin, you should know that ChatGPT plans don’t all protect your data the same way. If you’ll be describing an unpublished invention, you should look at our ChatGPT plan comparison at the end of this guide.
You should check whether your account or workspace lets you add a custom MCP server. If it does, you can follow the five steps below to run your first PQAI search.
Before you can search with PQAI in ChatGPT, you need to add its MCP server to your ChatGPT account. You can do that from the Plugins page, which shows your installed plugins and lets you add new ones. This step gets you to the form where you’ll enter PQAI’s details.
1. Open ChatGPT in your browser and sign in to your account.
2. Click Plugins in the left sidebar, just below Library.
3. Click the Add button in the top-right corner of the Plugins page to open a dropdown menu.
4. Select Add custom MCP server, the last option in that menu. The other two options are for building or uploading your own plugin, so you can ignore them.

If you’ve seen instructions that ask you to turn on Developer Mode first, you can skip that step. The current Plugins page lets you add a custom MCP server without it.
Selecting Add custom MCP server opens a form where you tell ChatGPT how to reach PQAI. Besides a name for the connection, it needs the web address of PQAI’s server and the way it should sign in.
1. In the Name field, enter PQAI Plugin. ChatGPT uses this name to label the connection. It’s what you’ll look for in your Plugins list and pick after typing @ in a chat.
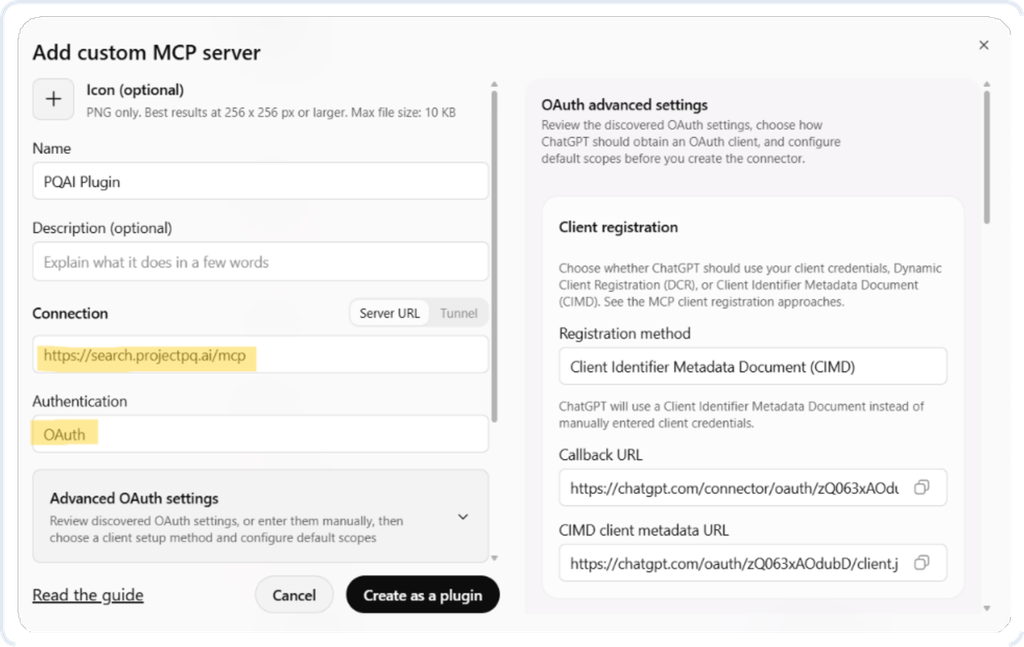
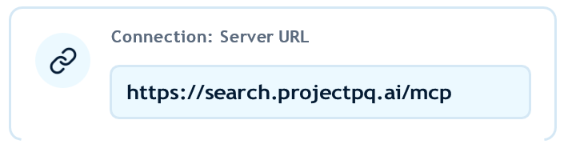
2. Under Connection, keep Server URL selected and paste https://search.projectpq.ai/mcp into the field. This is the public address of PQAI’s MCP server, and ChatGPT connects to it every time you search with PQAI.
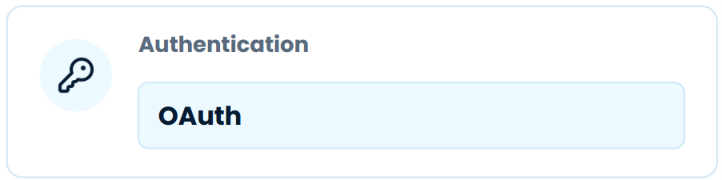
3. Under Authentication, select OAuth. OAuth lets you approve the connection without pasting a password or access key into ChatGPT.
You can leave the rest of the form as it is. The Icon and Description fields are optional.
With the form filled in, you’re almost ready to connect PQAI. Before you create the connection, ChatGPT shows a security warning. This warning appears for every custom MCP server, so it doesn’t mean anything is wrong with PQAI.
1. Check that the server URL and authentication details you entered are correct. Even a small typo in the address will stop ChatGPT from reaching PQAI’s server.
2. Read the warning below the form fields. It explains that an untrusted server could misuse the information you share through it. That’s why ChatGPT asks you to connect only to servers you trust.
3. Tick the I understand and want to continue checkbox. Ticking it confirms you’ve read the warning and are happy to go ahead.
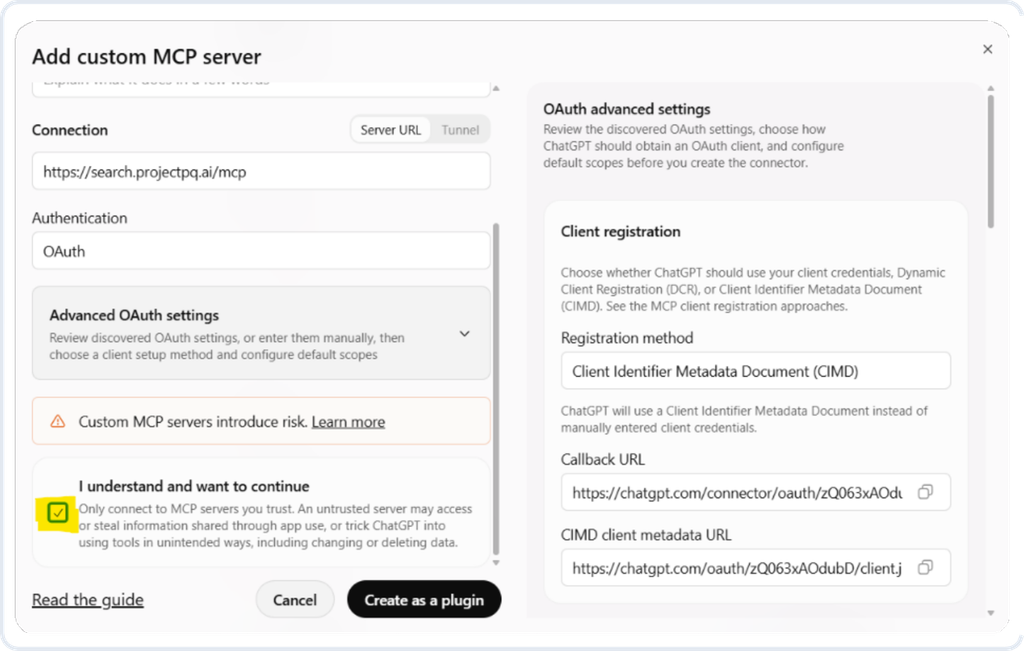
4. Click Create as a plugin.
ChatGPT then connects to PQAI’s server and looks up the search tools it offers. These are the search tools ChatGPT uses when you ask it to search through PQAI.
Your PQAI plugin now sits in your personal Plugins directory. There’s just one more thing to do before you can use it: install it.
1. Head back to your personal Plugins directory in ChatGPT.
2. Look for PQAI Plugin in the list. It shows up under the name you gave it in Step 2, and you’ll use that same name to bring PQAI into a chat.
3. Click on it to open its details page. That’s where you’ll find the option to install it.
4. Hit the + button to install it. And that’s it! PQAI’s search tools are now ready to use in your ChatGPT chats.
With PQAI installed, you’re ready to run your first search. You’ll start a fresh conversation in Work mode and bring PQAI in by name.
1. Open the ChatGPT homepage.
2. Switch from Chat to Work mode using the toggle at the top of the page.
3. Start a new conversation.
4. Type @ in the message box and select PQAI Plugin. It shows up as a tag at the start of your message, so ChatGPT knows to use PQAI for this request.
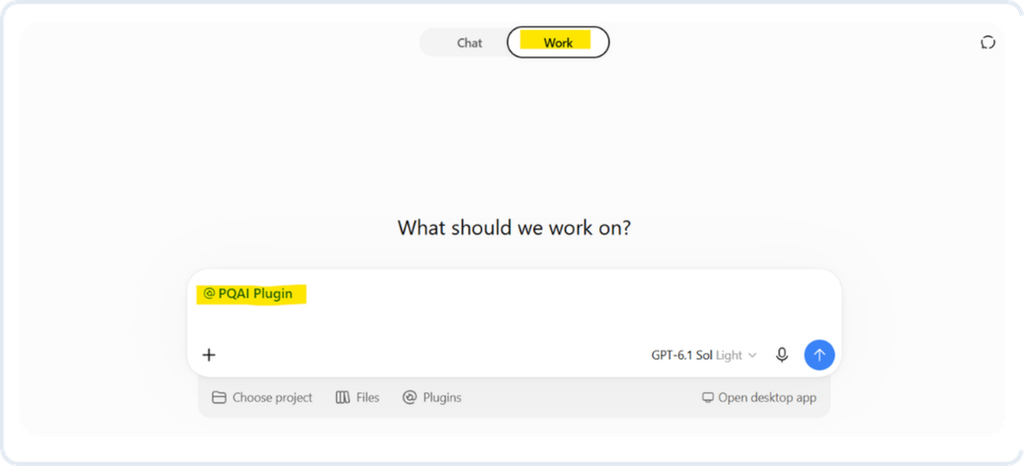
5. Type your patent search question and send it. You can describe your invention in plain language, like “Find prior art for a drone that swaps its own battery at a docking station.”
ChatGPT should then pull matching patent records through PQAI and base its answer on them. You should make sure ChatGPT used patent records from PQAI to answer your question. Even when the results come from PQAI, you can open any relevant patent to check whether it describes the feature you asked about.
If you’re searching for prior art on an invention you haven’t filed yet, you’ll want to know where those details go. How those details are handled depends on your ChatGPT plan, your settings, and the terms of any connected app you use. These details reflect OpenAI’s policies as of November 2026.
On a personal account, OpenAI can use your conversations to train its models by default. You can switch this off in Settings > Data controls by turning off Improve the model for everyone. Once it’s off:
Note: If you rate a response with a thumbs up or thumbs down, OpenAI may use that whole conversation for training. This applies even when the setting is off, so you should skip the rating buttons in chats about unpublished inventions.
OpenAI doesn’t train on business account data by default, so there’s nothing to switch off. Edu offers protections comparable to Enterprise for schools and universities. On top of that, business plans give you:
Turning off training on a personal account is a real protection. It just doesn’t come with the contract terms and admin controls of a business plan.
When ChatGPT uses PQAI, it sends the information needed to run your search. That may include details from your conversation. Before sharing an unpublished invention, review the terms that apply to the PQAI connection.
On personal plans, OpenAI may use information accessed from connected apps for training if Improve the model for everyone is on.
Here’s how the account types stack up side by side.
| Factors | Personal (Free, Go, Plus, Pro) | Business | Enterprise and Edu |
| Chats used for training by default | Yes | No | No |
| Can you turn training off? | Yes, in Data controls | Already off | Already off |
| How long chats are kept | Until you delete them | Until you delete them | Set by your admins |
| Admin controls for your organization | No | Yes, for the workspace | Yes, with role-based access |
| Single sign-on with your company login | No | Yes | Yes. Directory sync is available when eligible and configured. |
| Suited to unpublished inventions | With precautions | Generally suitable | Strongest managed option |
Once PQAI is connected, you can search for prior art and ask about the results in the same chat. When a patent looks relevant, you can ask ChatGPT which passage describes the feature you’re investigating and open the patent to check the passage in context.
When you search with PQAI through ChatGPT, the answers come from real patent records rather than what ChatGPT already knows. Your time goes into judging which results are relevant to your invention, not checking whether a patent exists. PQAI turns ChatGPT into a prior art research partner built on real patent data.

At PQAI, we bring clarity to the world of patents. Through storytelling and insight, we simplify inventions so innovators, researchers, and businesses can learn from the past and build the future.
If you already use PQAI for prior art searches, you can run them inside Claude too. This guide shows you how to connect the two,

In one of our earlier articles, we shared how PQAI can be used for invalidity searches. A little before that, we had also conducted a
PQAI is a popular tool among inventors for conducting novelty searches. You can describe an invention in plain language, and its semantic search capabilities can